
If you're keen to give it a try, here are some of my discoveries which you might find useful:
* The final finish has a slight satin sheen. It's closer to resin than a chalky porcelain but not quite has hard or dense as resin. It also seems to have a little bit of flex in it. I would have changed what I'd chosen to make had I known this from the start.
* I prepared my dough over the cooktop and found that it started burning at 7minutes (they recommend 15mins). I took it off the heat but it was still way too sticky. I threw it in the microwave for an extra 30seconds and that seemed to take it to the ricotta consistency they recommend.
 |
| 1. At one minute; 2. At 7minutes; 3. My fingers were too sticky to get a pic but it should be a little lumpier than 2. 4. The dough! |
* After micro-waving, it's still pretty sticky but don't freak out. If you persist with kneading, it eventually turns into workable dough. I was tempted to nuke it a bit longer and I'm glad I didn't.
* Once it's ready, the dough is surprisingly soft and easy to work with. It also doesn't dry as quickly as I was expecting so you can take your time shaping it. Just make sure you knead it well so you don't get gritty lumps or cracks. It's not like clay so you can't just wet it and smooth out kinks. You can knead it easily after the 24hour settling period.
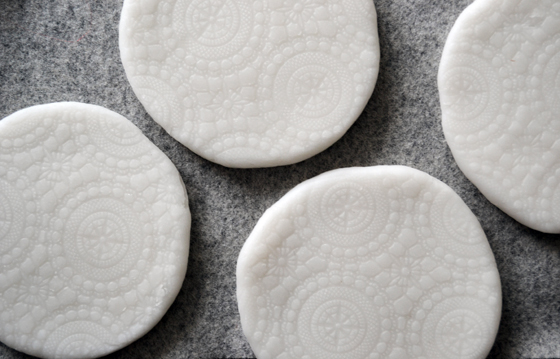
* Avoid making anything too thin as it starts to get a bit transparent and plasticky.
* I dried mine on wire racks and it sadly it stained the bottom. I might paint the bottom or line it with felt.
* I dried mine on wire racks and it sadly it stained the bottom. I might paint the bottom or line it with felt.
* Mr Google suggests that it can be finished with acrylic paint.
Have a go because it's great fun!
Have a go because it's great fun!


FANTASTIC! I love them...they even look like snow flakes.
ReplyDeleteAm I missing something? I can't find the recipe: (
ReplyDelete@Anonymous if you click on "this recipe" in the first line, it sends you to the link. Just in case the link doesn't work, here it is: http://thejunkwave.com/2011/07/18/how-to-make-your-own-air-dried-porcelain-with-common-household-ingredients/
ReplyDeleteGood luck with the recipe! I hope it works for you too!
You can color the porcelain when you get ready to work with it. Just add acrilic paint, food coloring, oil paint, stuff like that. Of course you can color the end product by painting it but working with different colors is fun too. Put cream in your hands once in a while. It helps smooth the porcelain and gets fewer cracks while it dryes. I got here through a pinterest pin.....I need to find my way back now. LOL!
ReplyDeleteI'm curious as to how well this worked as coasters. On a few of the pinterest comments it says that it is not water proof.
ReplyDelete